Because I dub it so. Fleece is fab! It's soft, cozy, warm, comfy, easy to care for, forgiving for beginners, malleable for the advanced...need I go on?
Well, the days are getting colder, the nights are falling faster, and there is a slight touch of holiday in the air. So I've cooked up a few projects involving the fun fabric this month that would make PERFECT Christmas presents or just help you ward off the cold. But first - I thought I'd impart my knowledge about the fabric to you.
 May I please have the attention of the class. Today we are talking about fleece.
 Fleece is not felt, nor flannel, as it is often confused with. Fleece is a knitted material. This means it has a stretch to it as well as the edges will not fray. However, they can run. (So I hope you're fast!! snort! haha! ahh... ) Just make sure that any high traffic, or high stress edges have some kind of finishing on them. Other edges are fine left raw.
There are 3 main types of fleece:
 Words like Alpine, Polar, Glacier, etc. are store brands. They do not create any difference in the fleece. This fleece has no directional nap to it, just general fuzz. People are often attracted to this fleece because it looks so lofty and dreamy to the touch, but beware! This is the cheapest of the fleeces and washes like it. Hate that icky chewed-up-cat-toy look? Don't buy this. It's fine for blankets and scarves, but does not make good clothes.
 This is where you'll typically find character fleece (ie. Barbie, Hotwheels, Spongebob). If you do buy it, be sure the label says: 100% polyester. Anything with acrylic in it, is as good as garbage.
 This fleece has a definite nap to it. It will almost look like fur. The little nubs of this fleece will become more pronounced as you wash it. The word 'anti-pill' refers to those nasty little lint balls, which typically form on standard fleece. This fleece is heavier and bulkier than the other fleeces. It's great for larger scale projects but can be frustrating when working with smaller pieces. This fleece does have a right and wrong side. (but no conscience to help it choose! man - I am on a roll!)
 The adorable little sister of the bunch. You can see the tight little nubs of this fabric do not have a directional nap. This is the lightest, springiest and stretchiest of the fleeces. It gives just as much warmth as any fleece, but does not have as much body. (Maybe I could loan it some of mine?! come on!) It's wonderful for clothes and small projects but not something where it would need to hold it's own shape. It also has a right and wrong side to it. It's definitely my fave of the three.
Ok class, your homework is to scout out these three at your local fabric store. Most stores should have them on sale right now. Pick some good ones that you like and buy a yard or two and I'll have some projects in the near future.
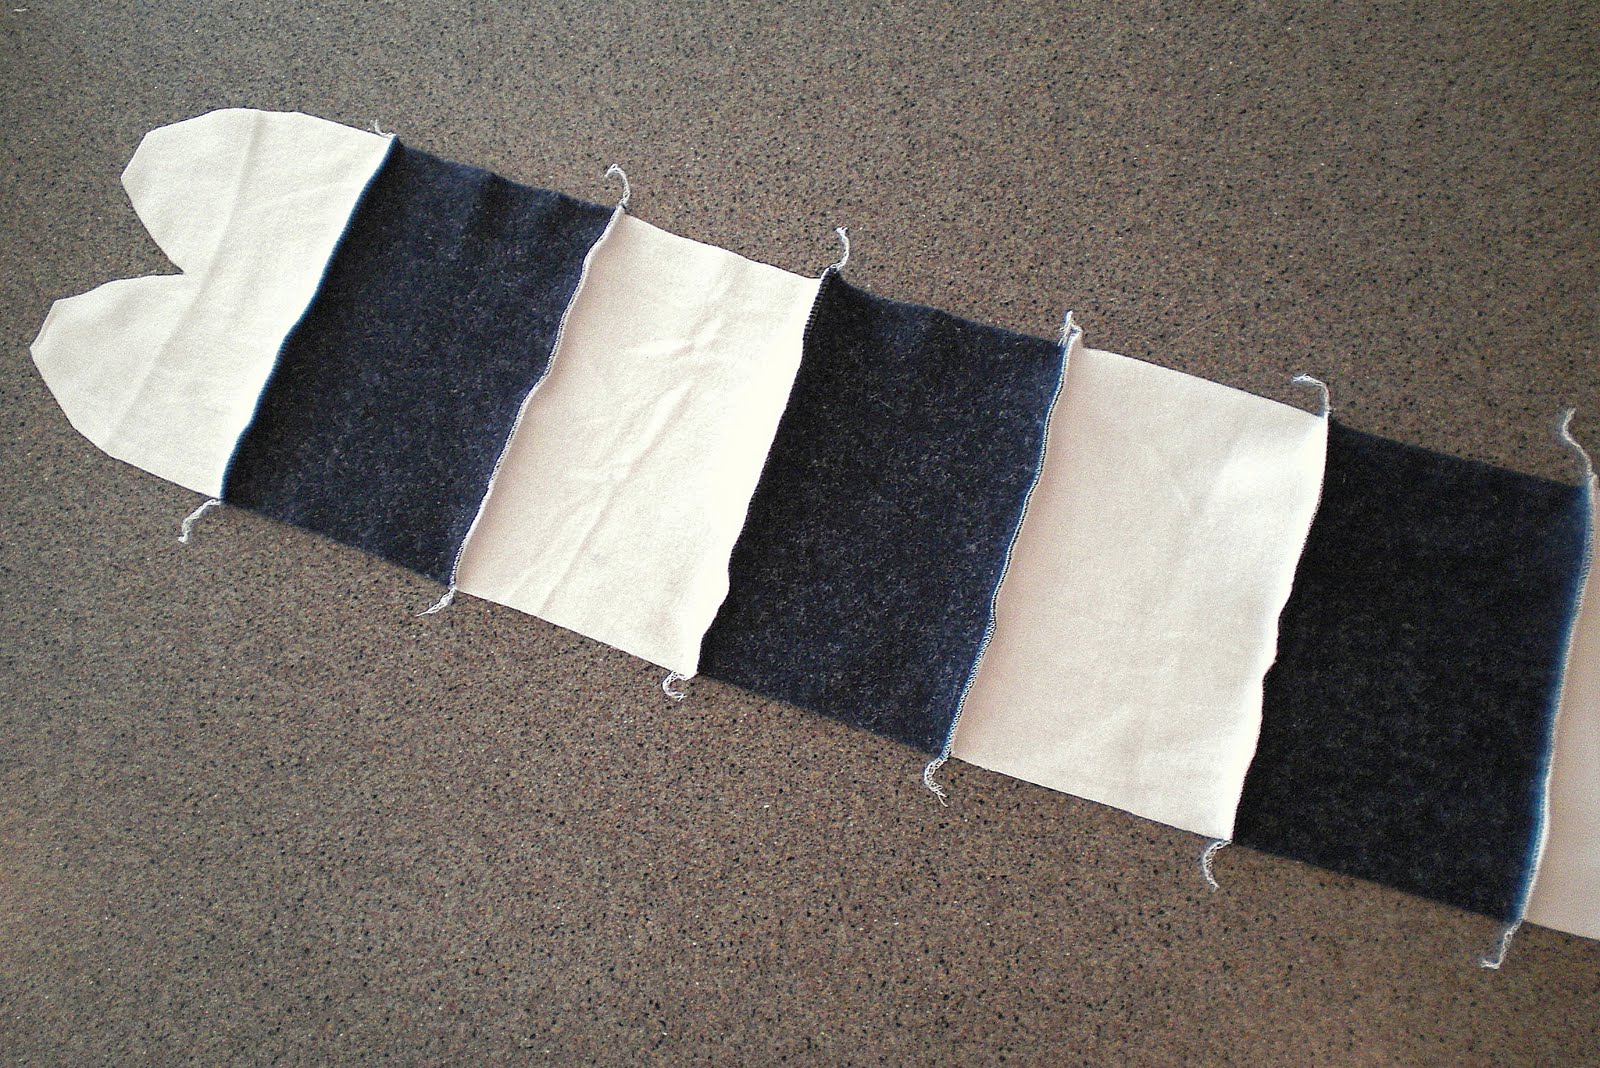
In the meantime, here is a no machine required project to use up all the felt scraps leftover from Halloween costumes:
Would go nicely 'round a Christmas tree, don't you think?
p.s. unless you are experienced with sewing, stay away from fleece's tricky cousin: specialty fleece. curly fleece, furry fleece, sherpa fleece, etc.
p.p.s. who wrote the jokes anyway?